

The best early-game strategy is to follow the opening objectives long enough to learn the core systems, establish a compact base, and then improve whichever part of your setup is actually blocking progress. Do not grind every skill, finish every equipment set, or collect every resource just because it is available. Keep food and water ready, process unfamiliar materials, use your skill spells, and prepare a recovery kit before taking risks far from home.
This approach gives you a stable loop: explore, bring back useful discoveries, turn them into upgrades, and return with better tools or equipment. When that loop slows down, identify the specific bottleneck instead of starting an unfocused grind.
Start With the Main Quest, Then Explore Sideways
Follow the opening objectives until you meet the Wise Old Man in Bramblemead Village. Speaking to him begins Dragon Slayer, which serves as the main introduction to shelter building, hunting, crafting, and preparation for stronger enemies. Check the Journal regularly so you know which objective is active and which side quests you have discovered.
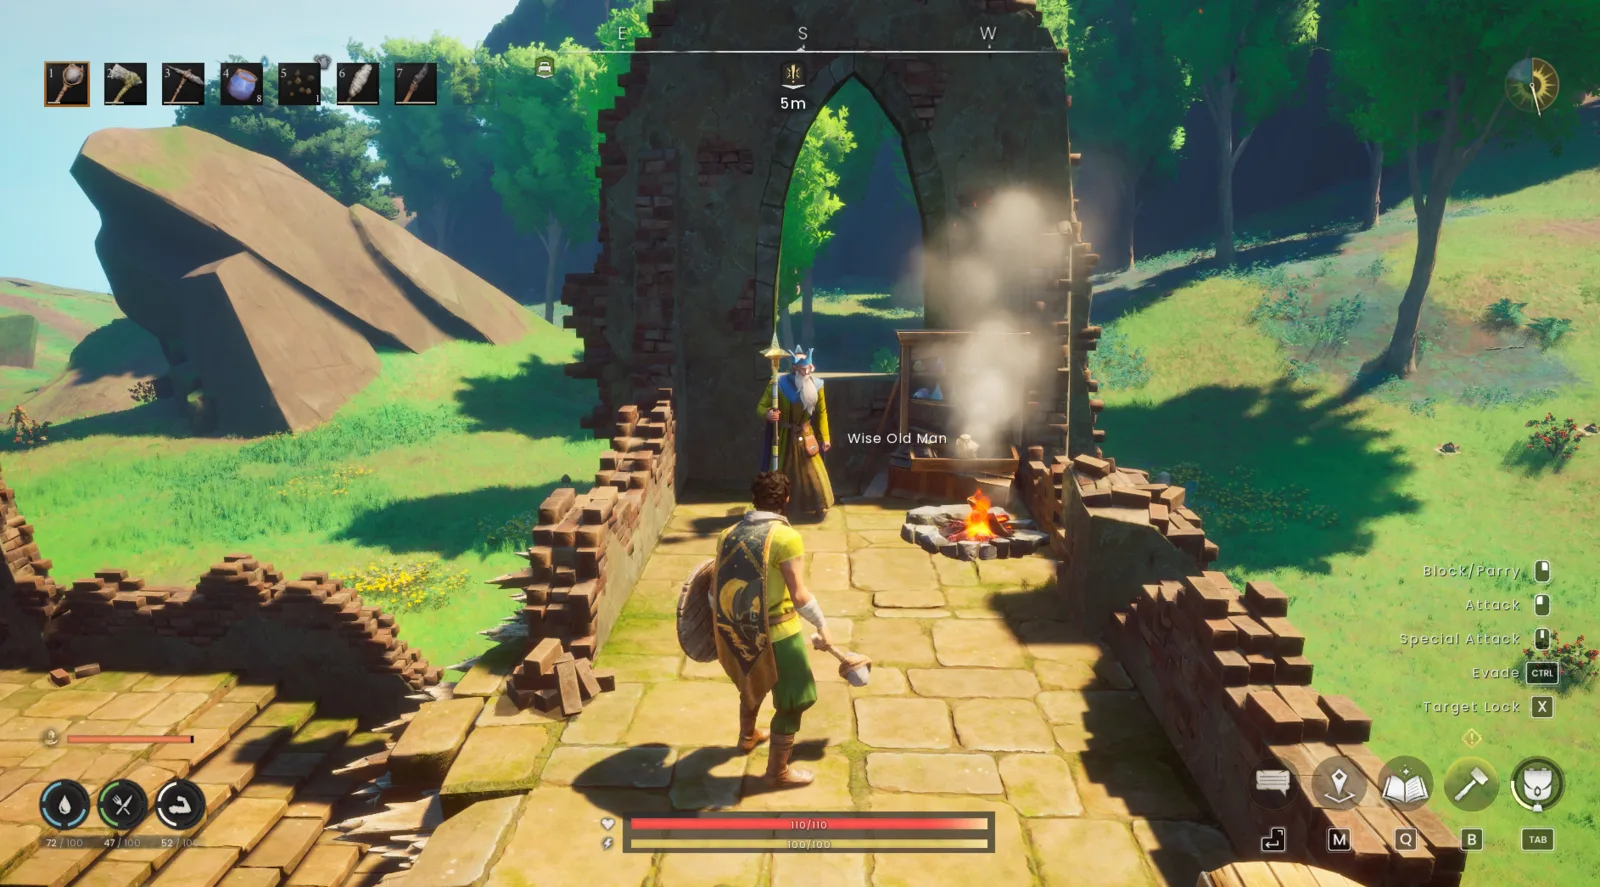
The main quest gives your first hours useful direction, but it should not become a tunnel that hides the rest of Ashenfall. Explore the immediate area around each destination instead of running directly from marker to marker. Talk to NPCs, inspect points of interest, open accessible chests, and gather unfamiliar materials. These detours can reveal side quests, resources, recipes, Vaults, and other useful discoveries without requiring a separate expedition.
Use the map to mark anything you cannot use yet. A resource that resists your current tool, a difficult Vault, or a useful gathering area is not a reason to stop all progress. Mark it, continue with the route you can handle, and return when your equipment is ready.
The same rule applies to Constitution Shrines, also called Sanguine Urns. Activating them permanently increases maximum health, so claim the ones you encounter during normal exploration. A dedicated locations guide is more useful for completing the entire set; during the opening hours, the important habit is simply not walking past an available permanent upgrade.
Build a Small Base That Solves Daily Friction
Your first base does not need to be a fortress. Place it in an early area near resources you repeatedly use, with enough flat space for expansion and convenient access to water. Bramblemead Village is a practical opening location because it keeps you close to early resources, wildlife, and the main quest.
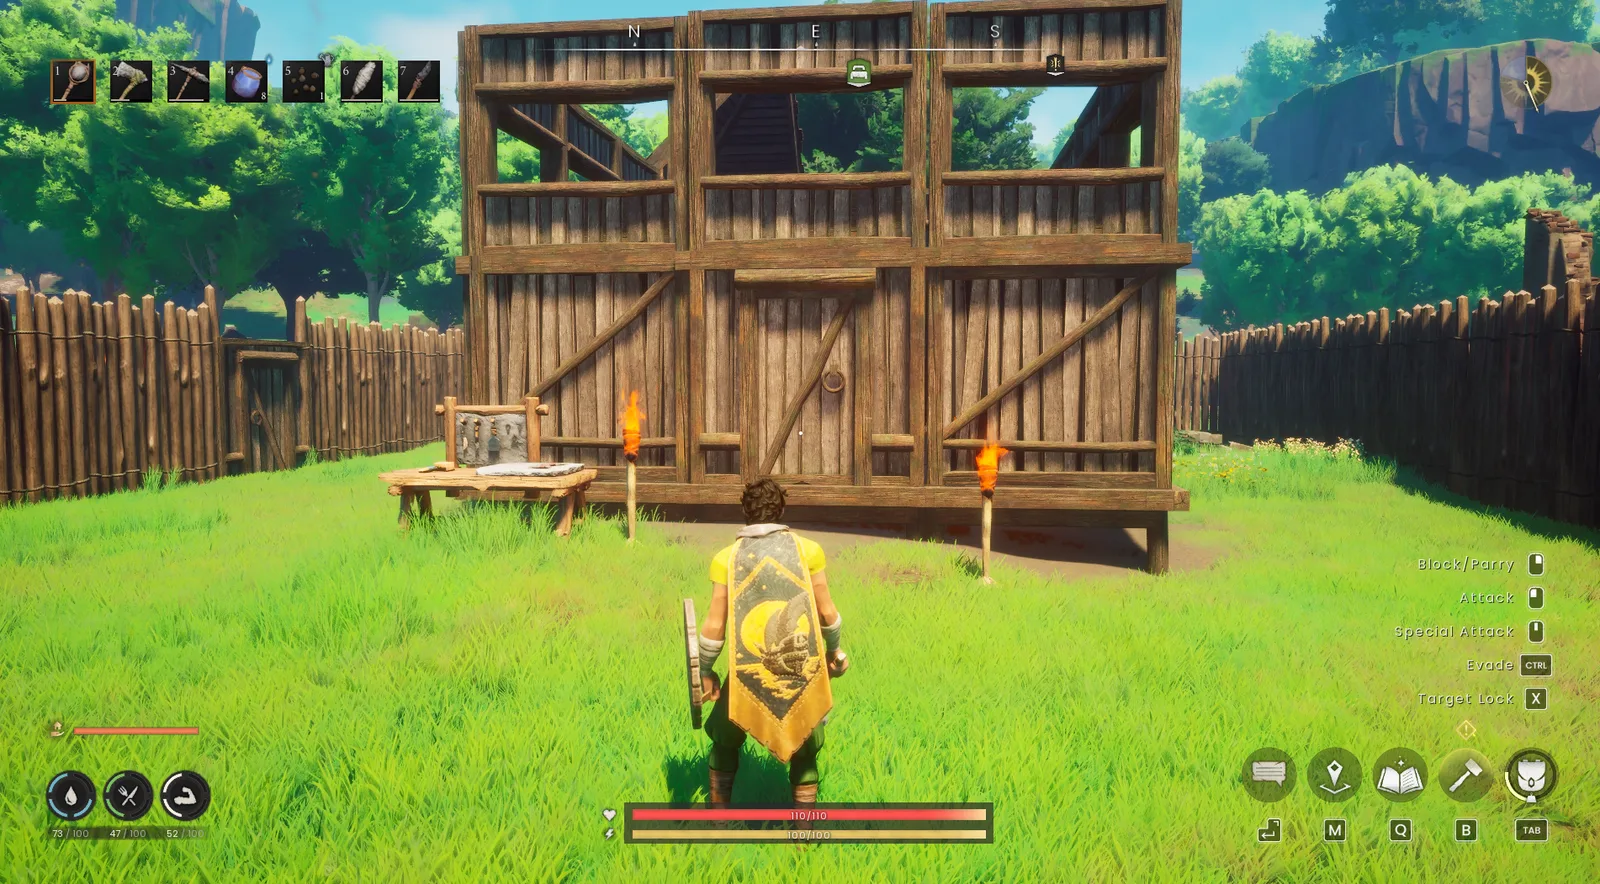
Begin with the pieces that directly support survival and progression:
- A fully enclosed shelter with walls, a roof, and a door.
- A claimed bed that establishes your respawn point.
- Storage placed near the stations that need its contents.
- A Crafting Table and Campfire.
- The processing stations required by your current objectives.
- Spare floor space for stations unlocked by later materials and skills.
Keep the layout compact. A huge first building consumes time and materials without improving your ability to explore. Expanding after you know which stations and storage categories you use is easier than filling an oversized shell from the beginning.
Use linked storage so nearby crafting and building can draw from chests without forcing you to move every ingredient into your inventory. Storage has a working radius, so a chest placed too far from a station may not supply it. Organize materials into a few clear groups—such as wood, ore and stone, food ingredients, farming supplies, and equipment—before the collection becomes difficult to manage.
Let the base work while you are away. Start cooking or processing materials before leaving on another trip. When you return, collect the output, load the next batch, repair what needs attention, and restock. This turns each home visit into a short reset rather than a long sorting session.
Keep your main production base instead of rebuilding every station whenever you enter a new region. Once fast travel becomes available, small forward camps and well-placed Lodestones can connect distant objectives to the same organized home base.
Turn New Materials Into Progress
Pick up at least one of every unfamiliar resource. New materials and their processed forms can reveal recipes, equipment, station upgrades, and building pieces. A material may unlock something when collected, but additional options can appear only after you bring it home, process it, or inspect the relevant crafting station while carrying it.
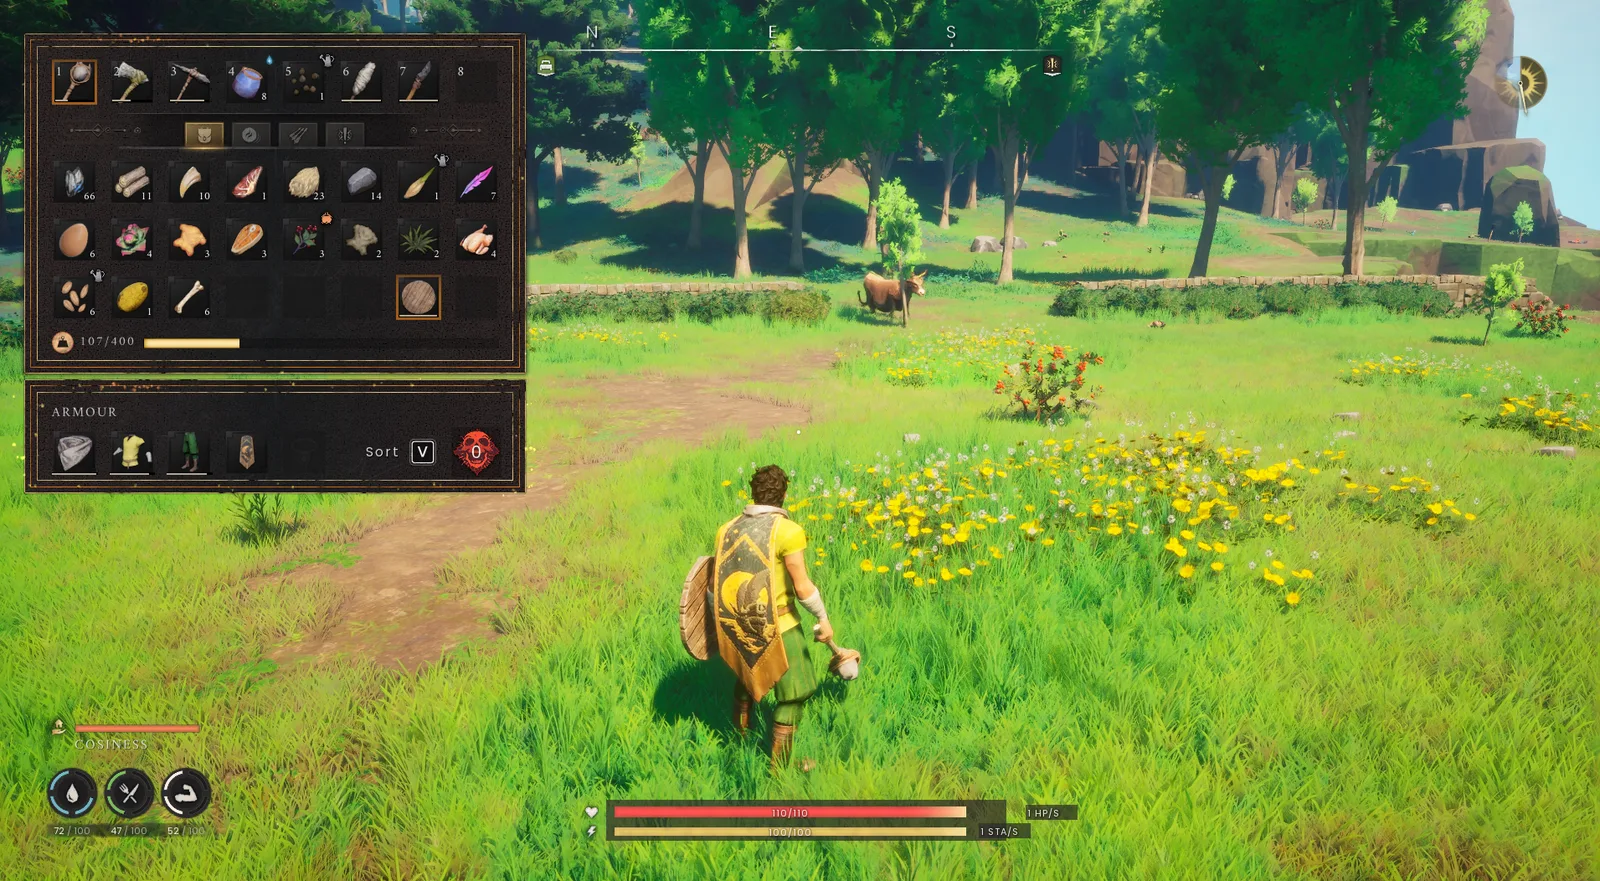
Early resources worth consistently noticing include Ash Logs, Stone, Flax, Rune Essence, Animal Bones, Animal Hide, and food ingredients. Flax remains useful because it becomes thread used in crafting and equipment progression. Rune Essence matters far beyond combat magic because runes also power gathering, movement, utility spells, and fast travel.
Do not fill every inventory with low-priority materials on the way to a specific target. Before picking something up, ask whether it serves the current trip, an upgrade you are actively planning, or a resource you know is repeatedly useful. Store new discoveries until you understand them, but avoid turning every journey into an unplanned mixed-material run that ends early because the inventory is full.
Match each upgrade to the obstacle in front of you:
| Current blocker | Best response |
|---|---|
| A resource cannot be harvested | Check the required gathering tool and upgrade that tool. |
| Ordinary enemies take too long to defeat | Review your weapon, damage type, and available combat options. |
| Enemies defeat you in only a few attacks | Improve armour, food preparation, and defensive play. |
| Travel consumes most of the session | Expand your fast-travel network and mark repeat routes. |
| Every trip ends with a full inventory | Improve storage habits and carry only what supports the trip. |
| A recipe remains unavailable | Process the new material and inspect the appropriate station. |
This is more efficient than keeping every axe, pickaxe, weapon, armour piece, and skill perfectly even. Upgrade the part that opens the next useful action, then return to natural progression.
Use Skills and Spells to Remove Repetition
Skills improve through their related activities: chopping trees trains Woodcutting, mining trains Mining, crafting supports Artisan progression, and using a combat style develops that style. Most skills therefore rise while you quest, gather, build, and fight. You do not need to stop immediately and grind one skill to its maximum level.
Look ahead in each skill track and choose a useful unlock as a temporary target. Reaching an ability that solves a current problem is meaningful; raising a number without a planned use is not. Construction level 40, for example, unlocks Personal Chest, which provides remote access to limited personal storage and makes longer gathering trips easier. Using Personal Chest requires Law Runes, so include them in your travel supplies. Artisan level 28 unlocks the Storage Ledger, which can greatly reduce manual sorting once your base contains organized storage.
Skill Spells are a major part of the progression payoff. Axtral Projection can bring down multiple trees, Rocksplosion can rapidly break mineable deposits, and Windstep improves movement across difficult terrain. Add the spells you actually use to the Spell Wheel rather than leaving them buried in the skill menu. Some gathering spells still require the correct tool to be equipped.
Maintain a supply of Rune Essence and the runes needed by your regular abilities. A powerful spell that cannot be cast because you left every rune at home does not improve the current trip. At the same time, avoid carrying your entire reserve. Bring a practical working supply and leave enough at the base to support recovery.
Use the Journal as a decision tool, not just a story archive. It records discoveries and can show information about resources, recipes, and encountered creatures. If combat feels unusually difficult, review what the game has recorded and consider whether a different weapon, elemental option, or combat style fits the enemy better.
Make Your First Vault an Early Milestone
After your shelter, food supply, and equipment can support a short expedition, try an achievable Vault. Vault Cores open the Lodestone fast-travel system, making a first successful Vault more useful than another round of unfocused gathering. Choose a Vault you can handle rather than treating every discovered entrance as an immediate objective.
Explore carefully, carry supplies, and mark difficult areas for a later return. If enemies exceed your preparation, leave and improve the equipment that is holding you back. Once fast travel is available, plan a small network around the routes you repeat.
Prepare Food, Stamina, and a Backup Plan
Food is your main source of healing, so treat it as part of the combat loadout. Carry cooked food and water before entering a Vault, approaching a boss, or exploring far beyond your Lodestone network. Different meals can support different needs, but the essential beginner rule is simpler: do not begin a dangerous trip with only whatever food happened to remain in your inventory.
Attacking, blocking, sprinting, and dodging all compete for Stamina. Emptying the bar with an uninterrupted attack sequence can leave you unable to avoid the enemy's response. Use shorter combinations, watch enemy animations, and preserve enough Stamina to block, dodge, or create distance.

A ranged option is useful even if melee is your main style. It can attract one enemy from a group or let you begin a fight from a safer position. Magic and different weapon damage types provide other answers when an enemy resists your usual approach. This does not mean maintaining three fully upgraded equipment sets. Fund a reliable primary style, then keep at least one functional alternative for situations where the primary performs poorly.
Before leaving, repair worn equipment and check the Power Level of what you have equipped. When normal enemies take very little damage or defeat you in only a few hits, that is a preparation warning. Review armour, weapons, food, and the region you are entering instead of assuming more random skill levels will solve the problem.
Make Death Recoverable Before It Happens
When you die, carried items are left in a gravestone near the place you were defeated. Your claimed bed determines where you return, which makes the bed and the route back to danger part of every expedition plan.
Keep a recovery kit at home containing a basic weapon, usable tools, food, water, and any other supplies needed to reach a gravestone safely. Do not carry every spare item on the original trip. If all your equipment is trapped at the death location, an empty base turns one mistake into a much harder recovery.
Place travel infrastructure before attempting content you expect may defeat you. A Lodestone or forward camp near a difficult region shortens both normal supply runs and emergency returns. Avoid putting the recovery route through the same unnecessary hazards that caused the first death.
Approach the gravestone as a retrieval task, not an immediate rematch. Re-equip, eat, restore your supplies, and decide whether you can avoid or isolate the threat. Recovering the inventory is the priority; defeating the enemy can wait until your normal equipment and preparation are restored.
A strong first-session route is therefore straightforward: advance the opening quest, claim a bed, build compact storage and cooking, collect and process new materials, equip useful spells, and prepare food plus backup gear. After that foundation is working, clear an achievable Vault and begin placing travel points around routes you will actually repeat. Each later upgrade should answer a concrete problem you have encountered, keeping progress focused without removing the discovery that makes Ashenfall worth exploring.
See map filters and route planning for the requirements and steps of that next task.
See the first bronze crafting route for the requirements and steps of that next task.