
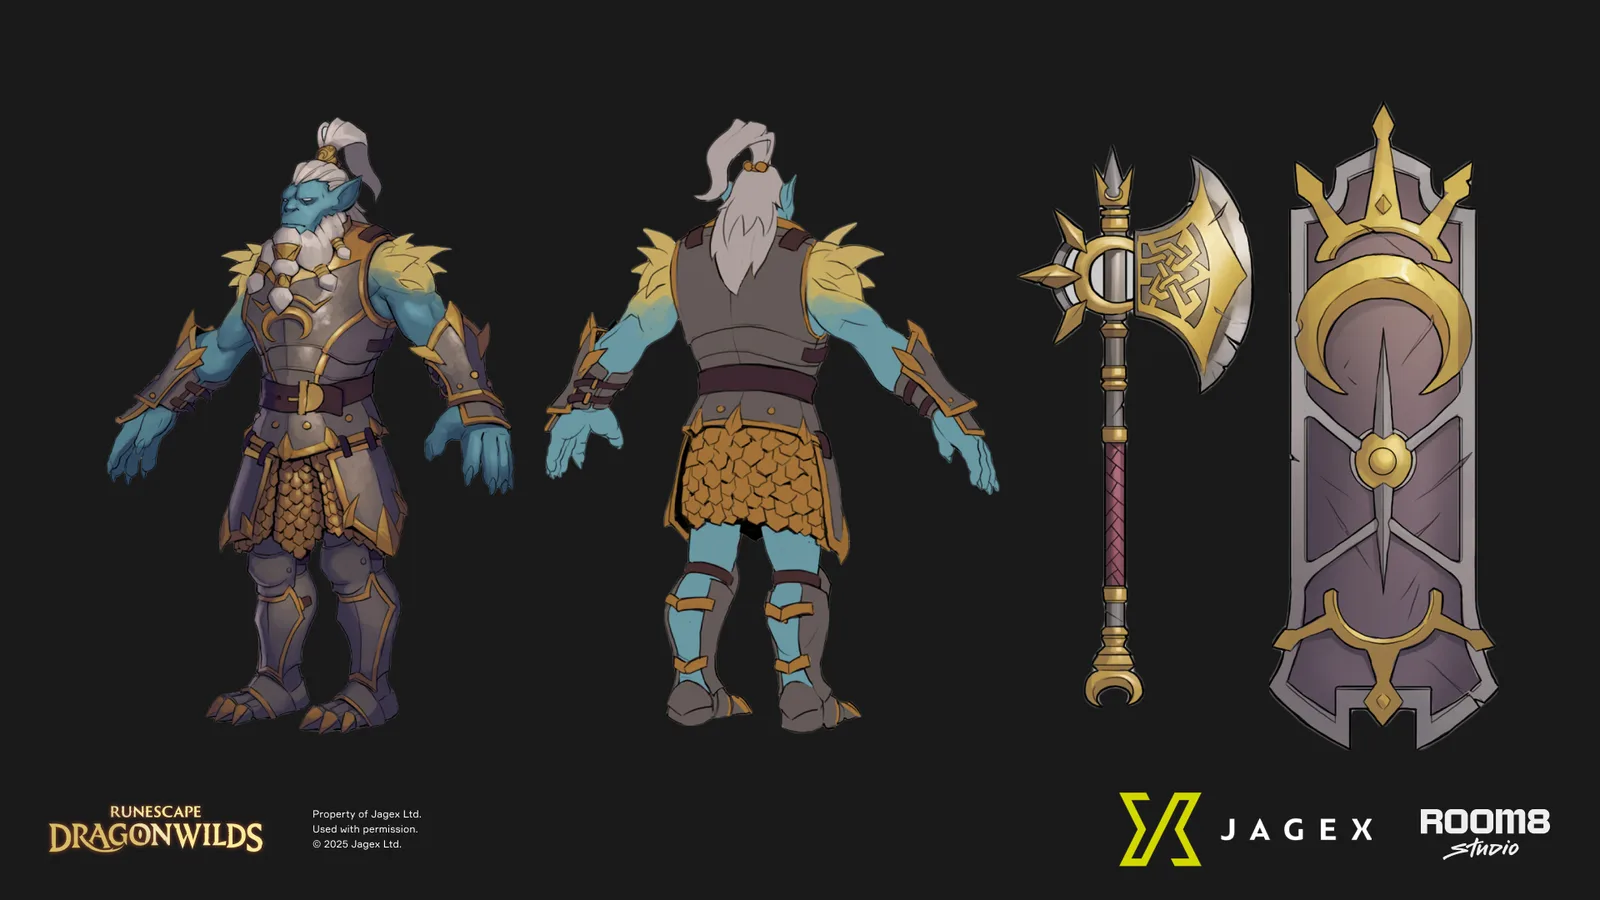
Choose a Dragonwilds combat build by the actions you can repeat safely: block and punish with melee, maintain distance with ranged, or move and cast with magic. The routes below are editorial starting points built from dated equipment references and the official 1.0.1 changes. They are not measured best-in-slot or DPS rankings.
Choose a build for the encounter
| Route | Craftable equipment target | Armour direction | What you manage |
|---|---|---|---|
| Melee guard | Rune Mace, with your chosen shield | Rune melee set | Block timing, stamina and safe punish windows |
| Heavy melee | Rune Greataxe | Rune melee set | Slower openings and movement without a shield |
| Ranged distance | Magic Longbow | Black Dragonhide set | Space, draw timing and arrows |
| Ranged close pressure | Rune Crossbow | Black Dragonhide set | Shorter reach, reload timing and bolts |
| Mobile magic | Ancestral Wand | Ancestral magic set | Rune supply and repositioning |
| Charged magic utility | Ancestral Staff | Ancestral magic set | Safe charge windows and extra rune costs |
These are late-game craft targets, not starting equipment. Progress through the material tiers you can actually obtain. Power-level-9 reward weapons are optional upgrades after they drop; a planner should not assume that every player owns one.
Melee: decide whether you want to guard or commit
Start with the armour guide and a current-tier weapon. A one-handed route leaves room for a shield. The Rune Mace is a practical craft target for its listed damage range and Block Breaker, while the Rune Sword, Scimitar and Dagger offer different special actions. Select the move you can land consistently rather than treating their damage ranges as equivalent attack speeds.
The heavy route trades the off-hand option for a two-handed moveset. Rune Greataxe, Warhammer and Greatsword belong to the same power tier. Try a normal enemy before committing to a boss attempt: can you finish the intended attack and still move or defend before the next hit? If not, reduce the number of attacks you commit to instead of adding another speculative damage bonus.
Keep the Abyssal Whip as a separate decision. Its dated reference has only 5 block, so a guard-first plan should not assume it behaves like the Rune one-handers. Carry a second combat style when reaching an enemy safely is the actual obstacle.
Ranged: build around space and ammunition
Choose the longbow route for deliberate shots from space, a shortbow for a different firing rhythm, or the crossbow route for one-handed ranged handling. Use the bow and ammunition guide to separate arrows from bolts before gathering supplies.
For a first test, take a small ammunition batch and choose an ordinary target with an escape route. Watch what interrupts your attacks: insufficient distance, running out of stamina, reload timing, or lack of ammunition. Upgrade the part causing the problem. A higher weapon tier will not create room in a cramped fight.
The official 1.0.1 notes add distinct subclass specials: Rapid Fire for shortbows, Power Shot for longbows and Heavy Bolt for crossbows. They also introduce Ammo Recovery, Greater Ammo Recovery and Low Blow. Check the unlocks on your installed skill tree before planning around them. Low Blow excludes tiny and colossal enemies; it is not a universal boss-control answer.
Rune ammunition is no longer interchangeable with Adamant in an old comparison table: the 1.0.1 notes give 4.9x versus 4.2x. That is a sourced ammunition distinction, not a complete final-hit or DPS formula.
Magic: choose movement or a charged effect
Ancestral Wand and Ancestral Staff share a 9.8 rune multiplier in the September equipment snapshot. The practical choice is the cast pattern. Use the wand route when moving during attacks is central to survival; use the staff route when you can make room for a charged secondary effect. The dated source describes a five-rune secondary cost, so budget for that separately from ordinary casting.
Plan the supply loop before selecting a route for a long session. Take the runes needed for the attacks and utility spells you intend to use, then reserve enough for returning or responding to a failed attempt. If supply is the bottleneck, visit the Runecrafting and skills overview rather than interpreting an empty rune stack as an equipment problem.
Kuldra’s Wrath is a reward upgrade, not a craftable prerequisite for playing magic. Do not postpone a workable Ancestral setup indefinitely while waiting for a reward drop.
Equip and test one change at a time
- Select a weapon route and one backup style.
- Check the three main armour pieces and repair them.
- Prepare the ammunition or runes for that exact route.
- In 1.0.1, review both the Ring and Amulet slots. The official notes reduce Amulet of Glory bonuses without giving revised figures, so do not copy an older total.
- Test against the same ordinary target after each equipment change.
- Keep notes on survival, supplies and useful attack windows. A successful fight does not establish universal best-in-slot status.
Use the equipment database for dated reference values and the 1.0.1 changes for patch-specific adjustments. There is no supported basis here for a simulated final DPS score, drop probability, or exact clear-time promise.
Sources and scope
- Weapons — community equipment reference — retained research snapshot 2026-09-22.
- Armour — community set progression — retained research snapshot 2026-09-22.
- Official 1.0.1 changes — checked 2026-10-15.
Equipment values are dated web references; route choices are editorial. This site has not tested these loadouts in the game or fully reverified the September equipment table against 1.0.1.