
Mine Coal in Fellhollow, Dowdun Reach, or Umbral Sands with an Iron Pickaxe or better. In Fellhollow, the cave near the northeastern side of Silverthorn Keep is a useful named starting point. Coal is a mined ingredient for Blast Furnace recipes, not the Charcoal made from wood and not the Fuel Pellets that keep the Blast Furnace running.
If you only need a small amount, Zogre Packs and several other loot containers also provide Coal. For a continuing Steel or Mithril supply, establish a route through actual Coal Nodes and return after they replenish. Check both your pickaxe tier and the final bar recipe before traveling, so you do not bring back material that your station cannot yet process.
Start with the Coal regions you can reach
| Region | Coal source to look for | Route decision |
|---|---|---|
| Fellhollow | Coal Nodes, including the Silverthorn Keep cave area | Useful when building your first repeatable Coal route |
| Dowdun Reach | Coal Nodes | Combine gathering with progression you are already doing there |
| Umbral Sands | Coal Nodes | Gather while following your later-region material goals |
Fellhollow is the main initial region to check for this material. The later regions expand your options, but you do not have to travel to Umbral Sands simply because its nodes appear in the resource list. Your route should fit the areas and equipment your character already has access to.
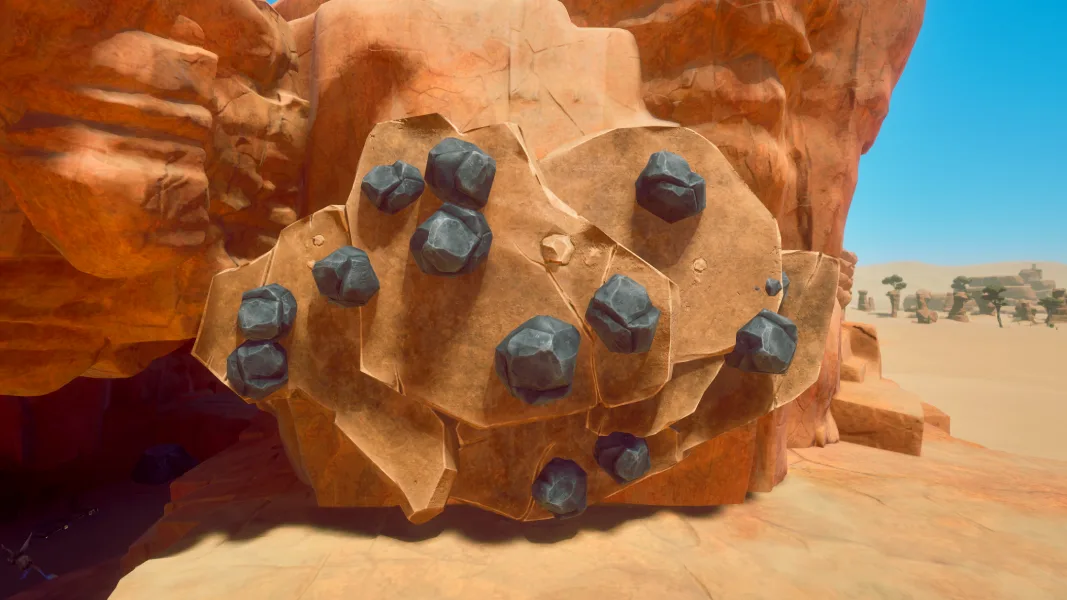
Look around rocky areas and caves. A Coal Node is the scenery you mine, while Coal is the item it produces. Use the node's identity and location together when searching. A dark-looking boulder is not enough by itself to confirm you found the correct resource.
Find the cave near Silverthorn Keep
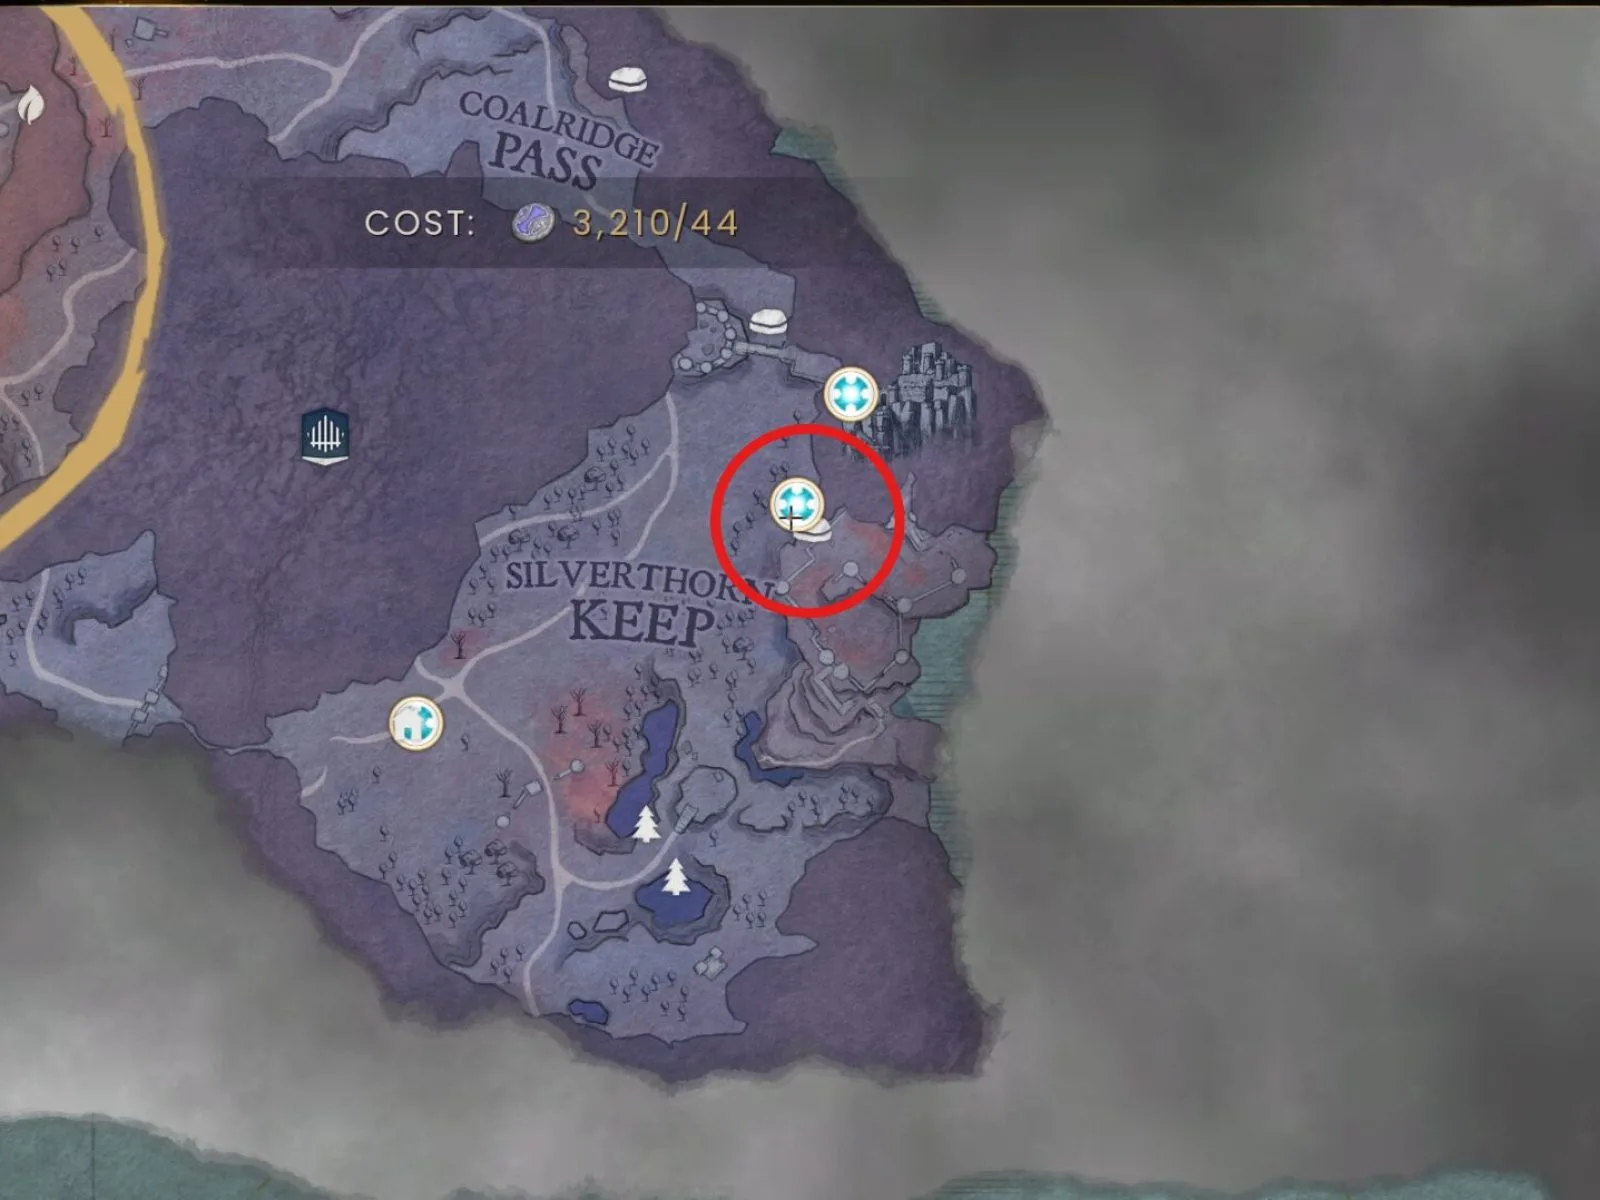
In eastern Fellhollow, use Silverthorn Keep as the landmark for a nearby cave. Search around the northeastern side of the keep for the cave entrance, then inspect the interior for Coal Nodes. The described route also has Coal along the cave walls, so check beyond the first cluster you notice.
Granite appears in the cave, and Iron Nodes are described outside the entrance. That makes the location useful for a combined gathering visit if you need those materials too. Keep your Coal target clear, though: spending the entire trip on Granite can fill the inventory before you reach the material you came for.
Use this sequence for a first reconnaissance trip:
- Bring an Iron Pickaxe or a higher-tier tool.
- Locate Silverthorn Keep in Fellhollow.
- Search its northeastern side for the cave entrance.
- Identify and mine the Coal Nodes inside, including those along the walls.
- Check the amount of Coal you collected before adding optional nearby materials.
- Return to your processing setup and confirm that the planned recipe has the rest of its inputs.
Do not assume a cave is permanently safe simply because a route description focuses on its resources. Arrive prepared for the surrounding region and check what is present on your visit. A resource landmark helps you find Coal; it does not guarantee that every approach to it has no hazards.
Extend the Fellhollow route toward Coalridge Pass
If the Silverthorn Keep stop does not provide enough for your target, another described search runs north toward Coalridge Pass. Look along the right side of the mountain range and cliff edges for additional Coal Nodes.
This is a route extension, rather than a claim that every cliff contains Coal. Search the node types while following the landmark direction. Once you have confirmed useful stops, revisit those locations instead of starting a completely new search on each gathering trip.
Choose the extension after you know the amount still missing. If your planned batch needs only a few more pieces, combining it with nearby tasks may make more sense than emptying every node in the region. If you need a larger reserve, a second cluster of confirmed stops spreads your gathering across more than one replenishment cycle.
Bring an Iron Pickaxe and distinguish tool tier from Mining level
Coal requires an Iron Pickaxe or better. A Bronze Pickaxe can mine several earlier materials, but it does not meet this node's required tool tier. Reaching the Coal location with an inadequate pickaxe leaves the gathering step unfinished regardless of how much time you spend attacking the node.
Mining levels unlock useful spells and passives, while the tool determines which materials you can extract. These are related progression systems, but one does not automatically replace the other. Check the pickaxe itself before assuming a skill unlock gives you access to Coal.
Rocksplosion unlocks at level 11 Mining and provides a way to break apart stone and ore. Use it where available, with the required pickaxe prepared, then finish remaining resources with ordinary mining. Summon Stone Spirits unlocks at level 24 and guides you toward nearby rocks you can mine; inspect the resulting node rather than assuming the spell always chooses Coal.
The basic Coal Node entry lists 67 Mining experience per ore. It does not establish the Rocksplosion experience amount, so do not plan a guaranteed experience-per-cast route from that missing figure. For this trip, the reliable goal is obtaining Coal for the required recipe.
Plan around node replenishment and carrying limits
Coal Nodes replenish after two to three in-game days. If the cave was mined recently, a depleted area does not mean the location information is wrong. Continue with another confirmed stop or another task while the resource regenerates.
The listed Coal Node drop is two to three Coal. Treat that as the resource yield entry, rather than an exact promise for how much an entire cave or route will provide. Different numbers of available nodes and a partially depleted area can change the total you collect during a visit.
Coal weighs 1.0 and stacks to 99. A stack limit describes inventory grouping, while weight still affects how much you are carrying. Add nearby ore and Granite only after reviewing how much room and carrying capacity your Coal target leaves.
If you use Lodestones for the return trip, remember that travel costs depend on distance and carried weight. A full gathering load can cost more Law Runes than the outward journey. Keep the return reserve available before filling your inventory, instead of assuming both directions will have the same displayed cost.
Mining-related stamina aids can help with a longer manual session. Quarrymaster reduces the stamina cost of Mining by 33%, while Quarrymaster II reduces it by 66%. These benefits help with mining effort; they do not make a Bronze Pickaxe satisfy the Iron Pickaxe requirement.
Use packs and other supplies for smaller Coal needs
| Source | Listed Coal quantity | Reliability of that listed drop |
|---|---|---|
| Zogre Pack | 2–6 | Always |
| Moon Garou Pack | 30 | Always |
| Doric's Smithing Supplies | 5–7 | Always |
| Doric's Superior Smithing Supplies | 6–8 | Always |
| Miscellaneous Salvage | 4–8 | 5.26/100 |
| Umbral Sands chest entry | 4–8 | Chance-based |
These alternatives are most useful when the source is already part of your route. A Zogre Pack can fill a small shortage, but a listed pack quantity does not explain how long your character will take to obtain that pack. Compare the available source with the task you are already doing.
Do not group every container under a single guaranteed result. Coal Nodes and the listed packs have different quantities, while salvage and chests can be chance-based. Your expected supply from an unopened container should stay separate from the Coal already in your inventory.
Coal also has a merchant entry for Beartach. The entry identifies another possible supply source, but it does not establish that a specific amount will always be available when you visit. Check the current merchant offering before relying on it to replace your gathering route.
Budget Coal against the exact Blast Furnace recipe
Coal is a secondary recipe ingredient in several higher-tier bars. The basic examples use three Coal per output bar, so a Metal Ore supply alone is not enough. You also need the appropriate Blast Furnace and its operating fuel.
| Target bar | Coal plus other materials | Output |
|---|---|---|
| Steel using ore | 3 Coal and 3 Iron Ore | 1 Steel Bar |
| Steel using an existing bar | 3 Coal and 1 Iron Bar | 1 Steel Bar |
| Mithril | 3 Coal and 3 Mithril Ore | 1 Mithril Bar |
| Adamant | 3 Coal and 3 Adamantite Ore | 1 Adamant Bar |
| Black Metal | 3 Coal and 6 Black Metal Scraps | 1 Black Metal Bar |
For example, ten Steel Bars through the existing-Iron-Bar recipe need 30 Coal and ten Iron Bars. This is a recipe calculation, not a claim that ten Coal Nodes will necessarily provide the complete amount. Gather against the quantity needed, then check the actual inventory total.
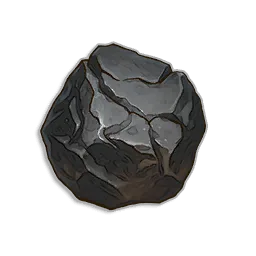
Keep Coal, Charcoal, and Fuel Pellets distinct. Coal goes into these bar recipes. Charcoal comes from processing wood and serves the basic Furnace. The Blast Furnace operates on Fuel Pellets. Bringing 30 Coal home cannot start a batch if the upgraded station has no operating fuel.
Fix a Coal trip that did not reach its goal
If you found a node but could not mine it, check the pickaxe tier. If the node is empty, account for the two-to-three-day replenishment window and try another confirmed stop. If you brought Coal home but cannot smelt the intended bar, check the station, other recipe materials, and Fuel Pellets independently.
A useful completed route has three results: a confirmed resource location, a tool that can extract it, and a processing plan that uses the amount you brought back. Once those are in place, extend the route only when your next batch requires more Coal or a different region offers materials you already need.