
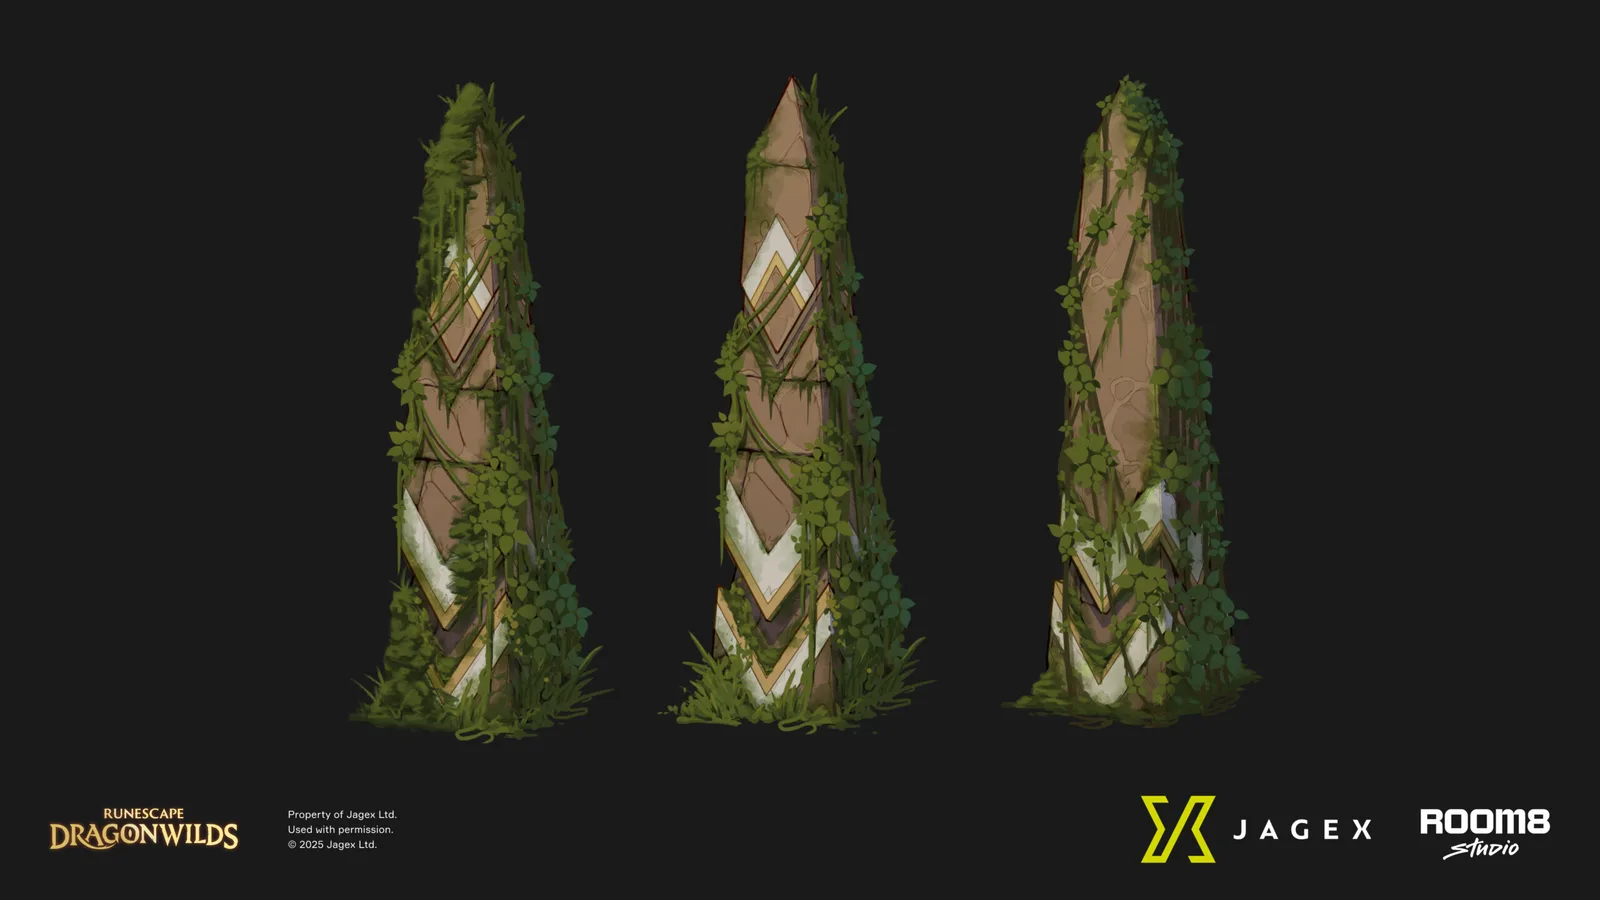
Complete Saga of the Adventurer by speaking to Laguna in the Uzzer camp, recording the inscriptions at the rocky spires around the nearby pyramid, and reading the final ancient Garou statue at the spire containing the Nightmare Crucible of Humiliation entrance. Return to Laguna with the finished saga to receive the Crucible Engram of Humiliation and advance your standing with the clan.
The important distinction is between the outer inscriptions and the final passage that completes the book. Visiting the surrounding spires does not finish the task by itself. Check the saga's next direction and continue to the Crucible entrance before returning to camp. Bring a torch, a pickaxe for obstructing sandstone, and equipment that lets you deal with the enemies guarding individual approaches.
Start the Correct Laguna Task
Saga of the Adventurer belongs to the Uzzer reputation work within Icthlarin's Little Helper. The broader quest takes you into Umbral Sands after Black Knight's Fortress and asks you to earn the trust of the Moon Garou clans. For this particular task, reach the Uzzer camp in the Dunes of Uzzer and speak to Laguna there.
Laguna also appears in the Manafem portion of the larger quest, where a different assignment sends you into a southern vault to record songs. That vault assignment is not the rocky-spire route described here. If your objective refers to songs inside a vault, continue that task separately rather than looking for the Adventurer tablets around the pyramid.
When you speak to the Uzzer Laguna, accept the task about recording the passages on the surrounding rocky spires. Laguna gives you a saga book for the assignment. Read the active objective before leaving the camp, so that a different reputation task or an earlier Laguna conversation does not send you toward the wrong landmark.
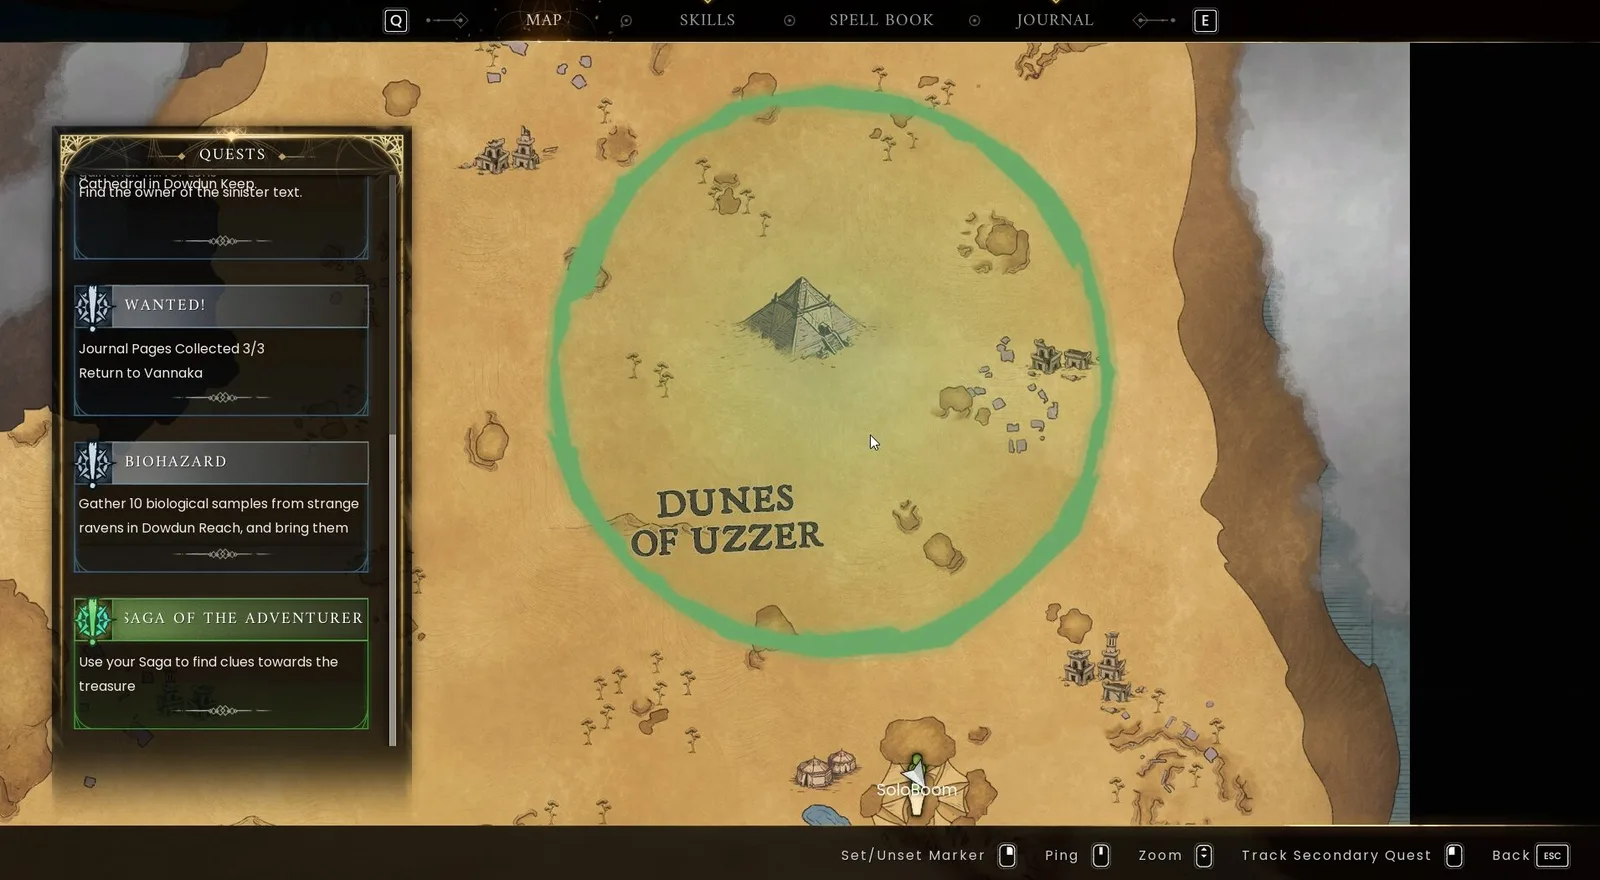
The book and quest marker work together. The marker narrows the search to the rocky formations, while the inscription interactions provide the actual progress. Merely reaching a marked circle, climbing a spire, or opening a nearby chest does not replace reading its ancient statue.
Pack for the Spires and Cave Entrances
The task centers on exploration and inscription interactions, but some approaches contain KotHaar or kalphites. Bring weapons, armour, and food suitable for those encounters. Avoid assuming that an exploration objective means every tablet can be reached without fighting; an obstructed cave and a guarded inscription can require you to stop and clear the approach.
A torch is part of the task preparation. Keep it available for the cave portions rather than leaving it at the camp when you see that several inscriptions stand outside. A pickaxe is also useful because sandstone nodes can seal some cave entrances. The material blocking the doorway is an obstacle to remove, not the tablet you need to interact with.
Windstep helps with the elevated route demonstrated at the first cave. Have the traversal spell available before committing to a jump between rock platforms. Treat it as a way to reach the correct ledge, then stop and identify the cave opening; rushing from the landing directly into an enemy encounter can make it harder to see the inscription pedestal.
| Preparation | Purpose on this task |
|---|---|
| Saga book received from Laguna | Records the passages that form the completed saga |
| Torch | Helps with the cave sections around the spires |
| Pickaxe | Removes sandstone nodes obstructing some entrances |
| Windstep | Helps cross the elevated approach to the first cave |
| Weapons, armour, and food | Support encounters near caves and guarded inscriptions |
| Attention to Scorch | Keeps a desert journey from becoming an unnecessarily long exposed run |
Scorch is a concern while traveling in the desert. Watch its buildup between objectives and use nearby shade or rock overhangs when you need a pause. A mount can shorten the stretches between formations, but it does not read inscriptions for you or remove the need to inspect a blocked entrance.
Read the Inscriptions Around the Pyramid
Use the area marked on your map to approach the pointed rock formations around the pyramid. The route consists of several outer passages followed by the final inscription at the Crucible spire. Think of the surrounding readings as assembling the incomplete saga, with the last statue supplying the passage that closes it.
Do not rely on the apparent size of a green search circle to identify the correct interaction. Look for the ancient Garou statue or stone tablet associated with the spire. Some stand in open terrain, while others require you to examine the rock formation for a cave entrance.
Enter the Elevated Cave
At the first cave approach, locate the low stone platform beneath the rock structure. Follow the slope toward the platform and use Windstep to cross to the right-hand ledge. Once you reach it, inspect the doorway for the rocks blocking access.
- Approach the elevated rock structure within the marked search area.
- Identify the platform and the gap leading toward the cave.
- Use Windstep to reach the right-hand platform.
- Break the sandstone obstruction with your pickaxe.
- Deal with the enemy inside before stopping at the pedestal.
- Interact with the ancient tablet to add its passage to the saga.
A lore book and a small chest are also present in this cave. They can be worth checking while you are inside, but neither is a substitute for the statue interaction. Before leaving, distinguish the tablet from the other objects so that looting the chest does not feel like completing the objective when the passage remains unread.
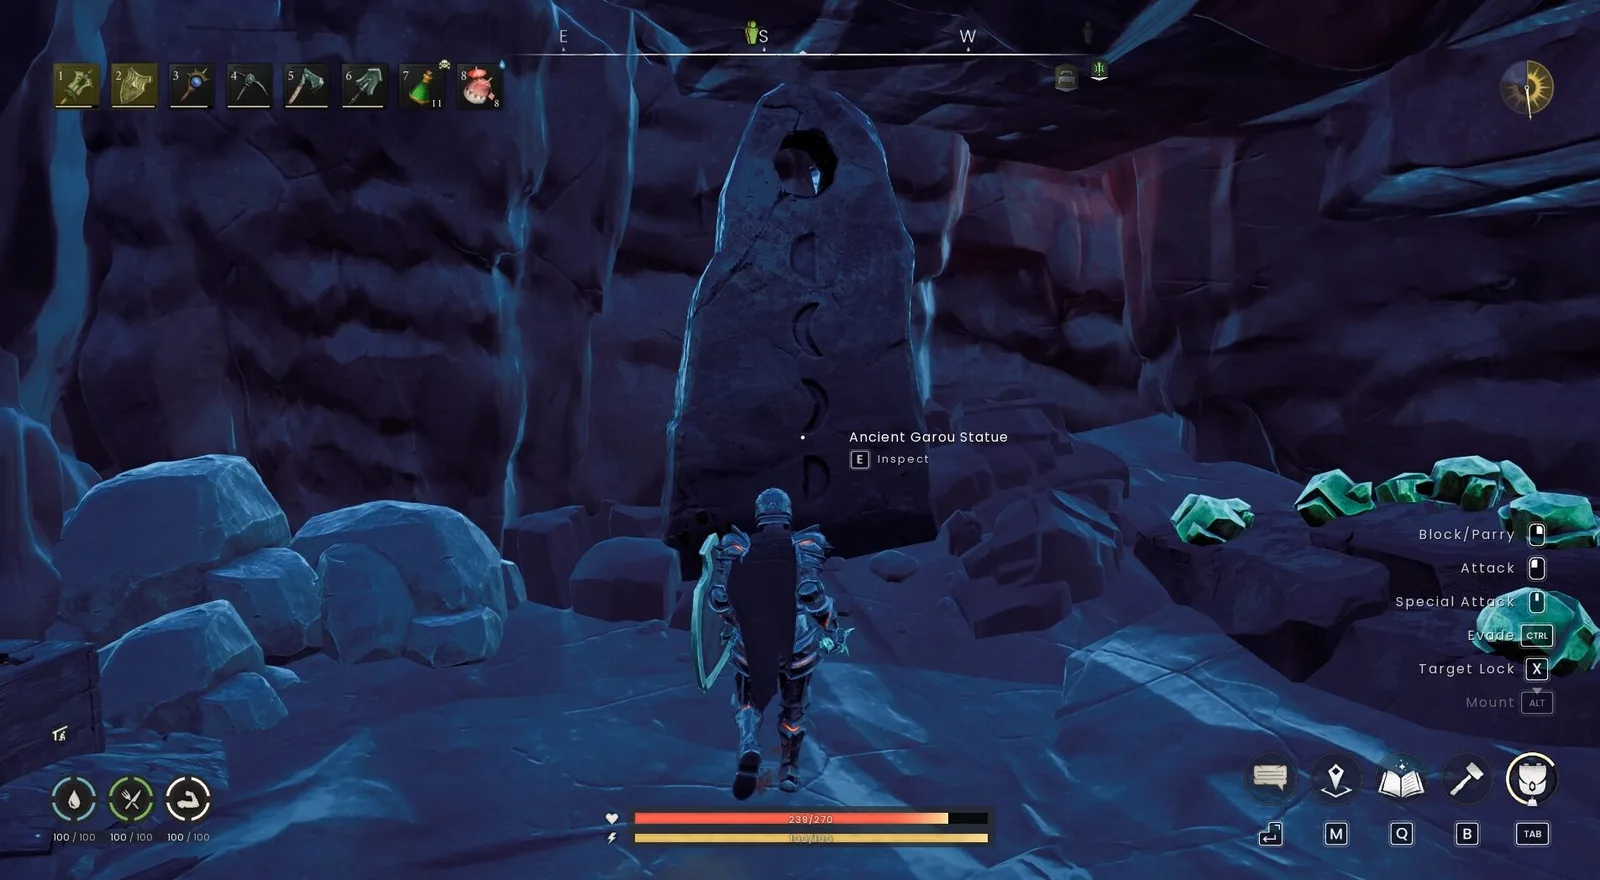
Return by a controlled route rather than dropping from a high ledge. The spires have vertical approaches, and a fall can consume the food you intended to reserve for a guard encounter. You do not need to invent a shortcut to keep the task moving; use the visible platforms and confirm your next marked formation before leaving.
Record the Open-Air Passage
Another tablet sits outside near the next pointed rocks. This interaction does not require the same cave-entry sequence. Approach the stone, record its passage, and then move toward the following formation.
If you are traveling on a mount, use it to cover the distance between rocks and keep the actual interaction brief. Check that the saga advances before riding away. An exposed tablet is easier to spot than a cave tablet, but passing close to it without activating the inscription still leaves its part of the saga missing.
Search Around the Creature Eggs
A further tablet is positioned among creature eggs. Use those eggs as an identification clue when you reach the appropriate rock formation. Examine the cluster for the interaction rather than assuming the eggs themselves are the quest object.
This stop is also a useful place to reassess your Scorch buildup and the route ahead. Nearby rock cover can provide a pause between exposed stretches. After recording the inscription, read the current direction again; doing so helps keep the quest sequence clear when multiple pointed formations look similar from a distance.
Approach the More Heavily Guarded Passage
One of the later outer tablets has more enemies nearby. The approach winding around the right can let you avoid unnecessary contact, but do not treat that path as a guarantee that every enemy will ignore you. Watch the immediate area and choose whether to move carefully past the guards or clear the obstruction before interacting.
The objective is to obtain the passage, not to fight every creature around the spire. Once you can safely use the tablet, record it and check your book. Avoid expanding a short inscription stop into an unrelated combat sweep that leaves you uncertain which passage you collected.
Continue to the Crucible Spire
After collecting the outer passages, follow the direction that leads you toward the rocky spire containing the Nightmare Crucible of Humiliation entrance. The final ancient Garou statue there contains the complete saga. This is the step most likely to be missed if you interpret the four surrounding spires as the entire assignment.
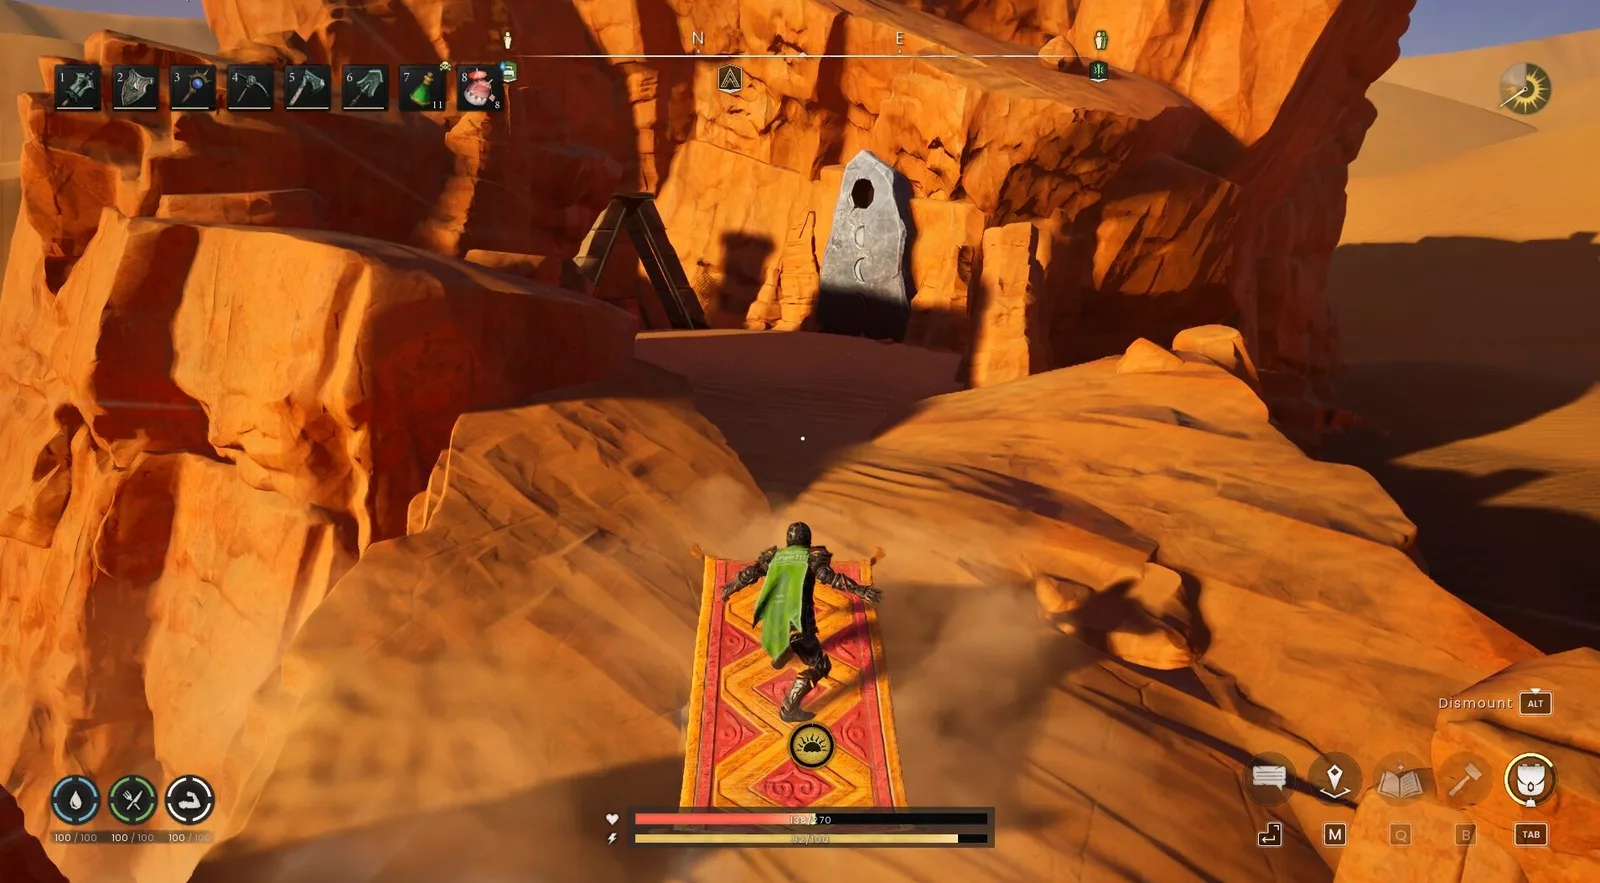
Find the statue at that destination and interact with it. Your aim is the final reading, not a Crucible combat attempt. The task's completion route involves recording the passage and returning to Laguna; it does not require this walkthrough to divert into a Nightmare Crucible battle.
Before leaving the spire, inspect the quest objective for the completed saga or the return instruction. If it still asks for a passage or sends you onward, do not assume that reaching the entrance has automatically updated the book. Approach the ancient statue itself and finish the interaction.
This separates three different actions that can happen in the same place: reaching the correct spire, finding the Crucible entrance, and reading the last inscription. Only the last of those finishes the saga-collection portion of this task.
Return the Finished Saga to Laguna
Go back to Laguna in the Uzzer camp after recording the final passage. Speak to Laguna and complete the hand-in conversation. The task rewards you with the Crucible Engram of Humiliation, while Laguna agrees to speak well of your deeds to the elder.
This result advances your work toward earning the Uzzer clan's trust. It does not, by itself, replace the other Uzzer reputation assignments. Keep the scope of the reward clear: completing the saga task gives its engram and reputation progress, while the mirror lens belongs to the wider set of clan objectives.
When checking your inventory afterward, look for the named engram rather than assuming every Crucible unlock comes from defeating a boss. The saga is an exploration and recording assignment. Its final return conversation is the point at which that assignment is resolved.
Resolve the Common Progression Blocks
The search area contains rocks but no visible tablet. Inspect the formation vertically and look for a cave opening. Sandstone nodes can block entrances, so a sealed doorway may explain why you cannot see the interaction from outside. Use the cave approach and remove the obstruction before deciding the objective is absent.
The cave was looted but the quest did not advance. Separate the chest, lore book, and ancient tablet. Looting nearby objects is optional to the inscription objective. Return to the pedestal and complete the tablet interaction before continuing to the next spire.
Laguna will not take the book after the outer readings. Check the instruction that points toward the Crucible of Humiliation spire. The outer passages assemble the saga, and the final statue completes it. Do that reading before making another trip to camp.
The Laguna objective sends you into a vault instead. That is the Manafem song assignment in the broader quest chain. Saga of the Adventurer uses the Uzzer camp and the rocky spires around the pyramid. Recheck the active task and the camp where you accepted it before retracing the desert route.
Enemies interrupt the tablet interaction. Create a clear approach or use the quieter side path where available. The task does not need an all-enemy clear, but you still need enough space to activate the inscription and confirm that it has been recorded. Check the book after each difficult stop so that an interrupted interaction does not cause a second visit.