
The roaming Abyssal Demon is a Power Level 4 mini boss found in Whispering Swamp and Bloodblight Swamp, with inconsistent sightings in Fractured Plains. It teleports to close distance, so stop attacking long enough to dodge its follow-up rather than relying on a rock or ruin to make you safe.
Slash is its listed weakness; Air is its listed resistance. Fire magic is another recommended approach. Winning can supply an Abyssal Spine and the recipe for the Abysmal Whip, but it does not give you the completed Power Level 7 Masterwork Abyssal Whip. Spine drops are a chance rather than a one-kill guarantee.
Where to search and which version you are fighting
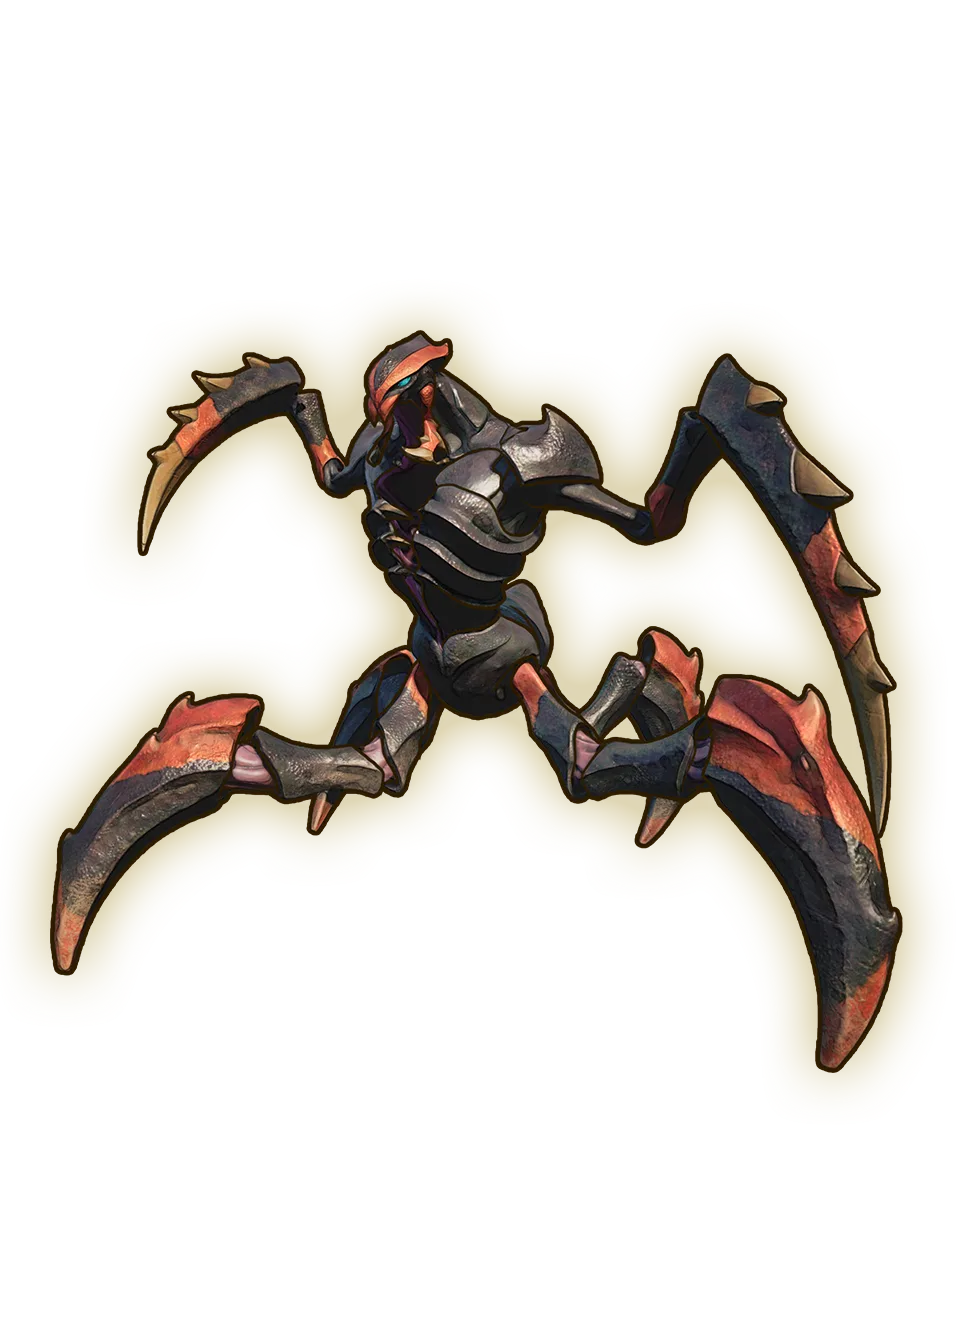
Search Whispering Swamp or Bloodblight Swamp for the roaming mini boss. The current Abyssal Demon Wiki entry also lists Fractured Plains, while warning that its northeastern sighting is inconsistent and that the region has no normal spawn point in the game files. Treat that as a possible encounter, not a dependable farming stop.
There are stronger versions elsewhere. Do not assume a fight with the same creature name has the roaming variant's stats:
| Encounter | Listed Power Level | What it means for your plan |
|---|---|---|
| Roaming overworld mini boss | 4 | The swamp encounter covered by the tactics below |
| Nightmare Crucible | 7 | A separate challenge context; do not plan around roaming-boss durability |
| Scorned Wilderness | 9 | An endgame encounter, not the early swamp target |
The roaming version is listed with 1,500 health. The Crucible entry flags a health value as bugged, so this guide does not use it as a reliable damage or fight-length target.
An empty search area does not establish that your world is broken. The sources do not establish a current, guaranteed refresh countdown for every version. Jagex's 1.0.1 notes extend enemy mob respawn timers and make Scorned Wilderness enemies return on raid reset; that is not a precise timer for the roaming demon.
Prepare for movement rather than a stationary damage race
For melee, a Slash weapon matches the listed weakness. For magic, Fire attacks are recommended by the Wiki's encounter strategy. Air attacks face a listed resistance, so they are a less direct choice when you have suitable alternatives; resistance is not immunity.
Bring healing supplies, repair your equipment and keep enough stamina to react. These are preparation recommendations rather than a prescribed item build or a hidden entry requirement. Your current gear, difficulty and confidence with dodging determine how much room for error you have.
Clear an approach that lets you see the demon and move. Higher ground can help you gain distance with Ranged or Magic, but it is an aid to positioning rather than a guaranteed safespot. The demon can teleport when you are too far away or stand somewhere it cannot reach.
Respond to the teleport, then attack
The important rhythm is teleport → quick attack → recovery opportunity. Avoid committing to a long string simply because the demon was far away a moment earlier.
- Watch for the teleport. Reacquire the demon before deciding where to dodge; its previous position no longer tells you where the next hit is coming from.
- Leave time for the immediate follow-up. If you use Magic, pause between casts so you can react instead of repeatedly starting another animation.
- Dodge the attack before retaliating. Take a short attack window and stop when it begins another approach.
- Reposition when your view or space becomes poor. Do not spend the entire exchange trapped against the same ruin you hoped would protect you.
These steps are a cautious way to apply the documented teleport-and-attack pattern, not a requirement to use one combat style. You can fight in melee or at range; the common mistake is treating distance as permanent safety.
The 1.0 combat update also allows dodging and blocking to cancel attacks and spellcasting actions. Use that option when an attack starts during your wind-up, rather than insisting on finishing the cast. Jagex documents the change in the 1.0 launch notes.
If your spells seem weak, first check the damage type. If you keep taking hits while casting, change the timing and shorten your attack windows. If the demon reaches your high ground, relocate and return to reacting to its attacks; repeating the same position will not prevent another teleport.
Understand the drops before repeating the fight
The current Wiki lists Abyssal Remains as the recipe drop and an Abyssal Spine at 45% for the roaming encounter. It also lists Abyssal Ashes, Monstrous Fangs, Hard Leather and a chance of Power Level 4 Ascension Shards.
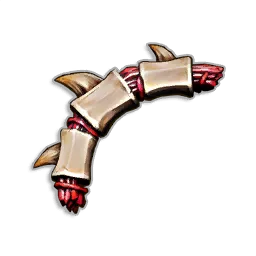
A 45% Spine chance means individual kills can fail to produce one. It does not promise a Spine on the second or third kill, and the sources do not establish a pity system. Older guides describing the Spine as a guaranteed drop predate its documented 1.0 change.
The weapon names matter:
| Reward or weapon | Current role |
|---|---|
| Abyssal Remains | Unlocks the recipe for the Abysmal Whip |
| Abyssal Spine | A crafting component; still relevant after the rework |
| Abysmal Whip | Power Level 4 intermediary weapon, with Bleed but without the Masterwork special attack |
| Abyssal Whip | Power Level 7 Masterwork weapon; its recipe is in Umbral Sands |
Jagex's official Whip rework moves the true Abyssal Whip to the Umbral Sands progression stage. Killing an early demon therefore starts that equipment route; it does not bypass the later recipe discovery.
For the complete weapon crafting and upgrade chain, continue to the dedicated Whip guide below. This encounter page focuses on finding and beating the demon rather than duplicating that recipe route.